The mixer tap cartridge is a crucial component in ensuring the smooth operation of your faucet. Over time, wear and tear can lead to leaks, drips, or a loss of temperature control, indicating the need for a tap cartridge replacement. In this article, we will delve into the importance of mixer tap cartridges, signs of a failing cartridge, and the step-by-step process of replacing it to restore the functionality of your tap.
Understanding the Mixer Tap Cartridge:
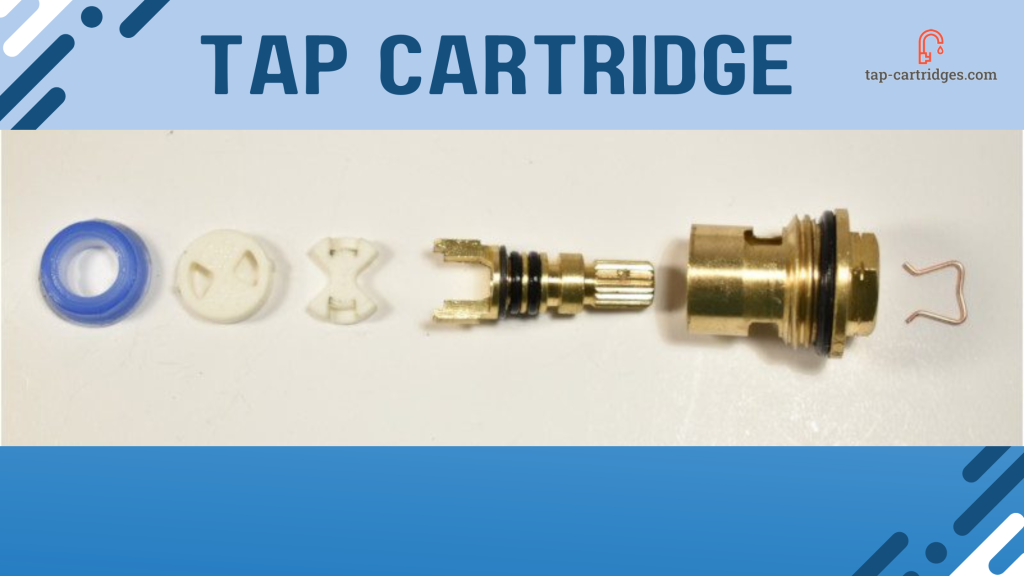
A mixer tap cartridge is a cylindrical device that controls the flow of water through your faucet. It consists of multiple seals, discs, and a valve that regulate the water’s temperature and flow rate. This design allows for a seamless transition between hot and cold water, providing comfort and convenience in your daily activities.
Signs of a Failing Tap Cartridge:
Leaks and Drips: The most common sign of a failing tap cartridge is water leaking or dripping from the faucet, even when the handle is fully closed. This not only leads to water wastage but also affects your utility bills.
Inconsistent Temperature: If you experience sudden fluctuations in water temperature, or the water fails to reach the desired heat level, it could be an indication that the cartridge needs replacement.
Stiff or Loose Handle: A worn-out cartridge can cause the faucet handle to become stiff or loose, making it difficult to turn or control the water flow effectively.
Replacing the Tap Cartridge:
Before starting the replacement process, gather the necessary tools such as an adjustable wrench, screwdriver, and a replacement cartridge specific to your faucet model. Follow these steps:
Shut off the Water Supply: Locate the water supply valves beneath the sink and turn them off to prevent any water flow during the replacement process. Test the faucet to ensure the water supply is cut off.
Remove the Handle: Use a screwdriver to remove the handle, typically located beneath a cap or cover. Unscrew any visible screws and gently lift off the handle, exposing the cartridge.
Remove the Cartridge: Depending on the faucet design, you may need to unscrew a retaining nut or clip to release the cartridge. Carefully remove the cartridge, ensuring not to damage any surrounding components.
Insert the Replacement Cartridge: Take the new cartridge and align it correctly into the faucet body, following the manufacturer’s instructions. Make sure all seals are properly seated, and any clips or nuts are securely fastened.
Reassemble the Faucet: Put the faucet handle back into position and tighten any screws or retaining components. Double-check that the handle moves smoothly and without any resistance.
Turn on the Water Supply: Once the cartridge is securely installed, turn on the water supply valves beneath the sink to restore water flow. Gradually open the faucet to flush out any debris and check for leaks.
Conclusion:
A properly functioning mixer tap cartridge is vital for a seamless water flow and temperature control in your faucet. By recognizing the signs of a failing cartridge and promptly replacing it, you can restore your tap’s functionality and prevent water wastage. Remember to follow the manufacturer’s instructions and exercise caution while replacing the cartridge. With a little effort, you can enjoy a fully operational faucet once again.

Leave a comment